
- Overview
Overview
Backup images allow systems and data to be recovered quickly, but successful recovery depends on the integrity of those images. Regular validation helps test that backup images are intact, usable, and restorable over time. This article outlines practical ways to validate backup images after they have been created.
Each test can be applied depending on available resources and operational constraints. Whether this involves regular hash verification, regular restore testing, or full disaster recovery exercises, the goal is to validate backups in a way that is achievable and sustainable.
This article assumes that an image of the operating system (and any additional disks) has been created. If you have not yet created an image, follow the steps in this article.
Hash Verification
When backups are created, an MD5 hash is created for each block of data after it is read from the source disk, and before it is written to the destination disk, and then stored in the index of the backup file. When a backup is verified, each block has the MD5 hash recalculated and compared to the hash that is stored in the index. If any of the recalculated hashes are different from the hash that is stored in the index of the backup, it indicates that the data in the backup has changed since it was read from the source disk during backup creation; this is also known as backup corruption.
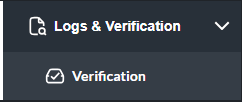
To verify a backup in Macrium SiteBackup, select the 'Verification' page under the 'Logs & Verification' dropdown menu:
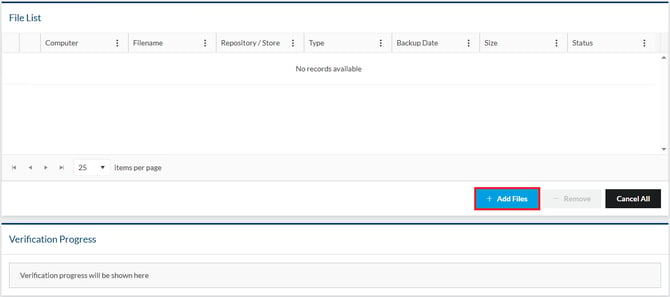
On the 'Verification' page, select 'Add Files' to select the image files that will be verified:
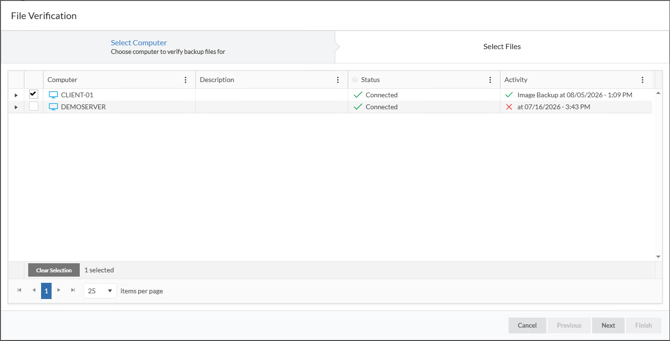
In the window that opens, select the computer whose backups will be verified then select 'Next':
On the second page of the wizard, select the image file(s) that will be verified:
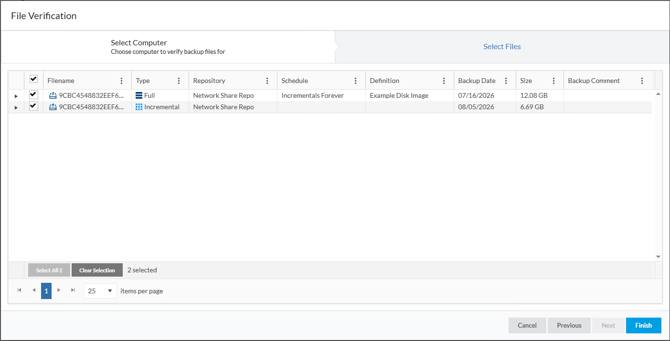
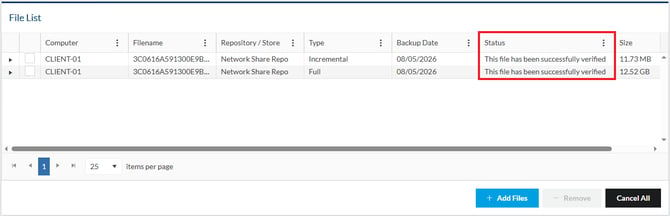
Multiple backups can be selected for verification. These backups will be added to a queue. The 'File List' table shows the backups that are in the verification queue. Once the verification has been completed, the 'Status' column shows the result of the verification:
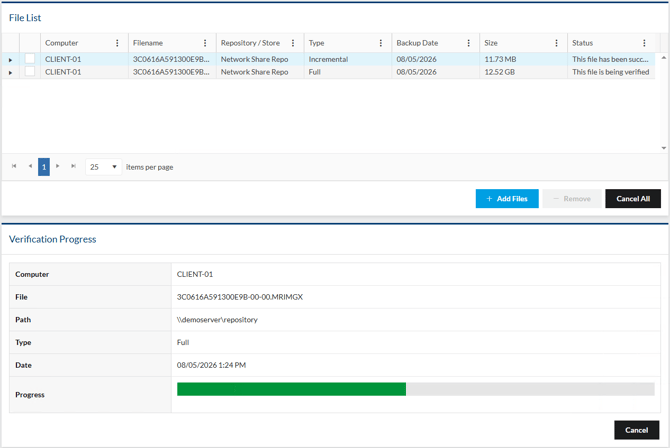
The 'Verification Progress' section of the page will show the progress of the backup that is currently being verified:
For more information about verifying backups, and the steps that can be taken if verification fails, please see this article.
Boot as a Virtual Machine
Whilst hash verification is a useful tool to ensure that the data contained in the image is exactly the same as the data that was read from the source disk, it does not provide any evidence that the image is bootable.
Macrium viBoot enables you to instantly boot a Microsoft Hyper-V or Oracle VirtualBox virtual machine using an image file. This helps ensure that the image is bootable, meaning that the operating system will boot correctly after a restore. This virtual machine will also provide a desktop experience, enabling applications to be checked.
Macrium viBoot can be installed as part of the SiteBackup installer. If you have not already installed Macrium viBoot, please see this article for more information.
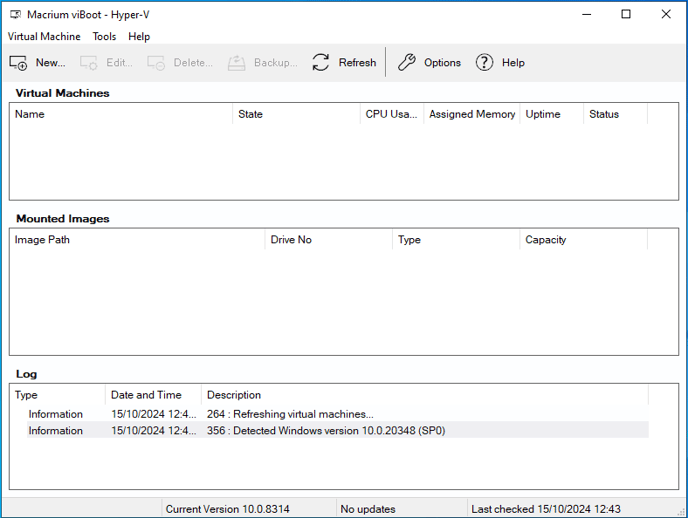
First, launch Macrium viBoot. Once Macrium viBoot has started, the following page will be shown:
Select 'New' in the top left of this page to create a new viBoot virtual machine:
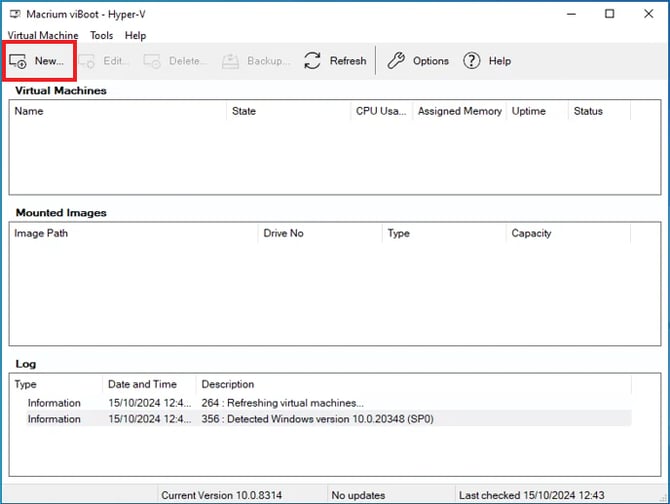
Image files can be found in the repository folder using the Explorer. The default structure of the repository is:
\\Server\Share\ComputerName\Definition\ImageFile.mrimgx
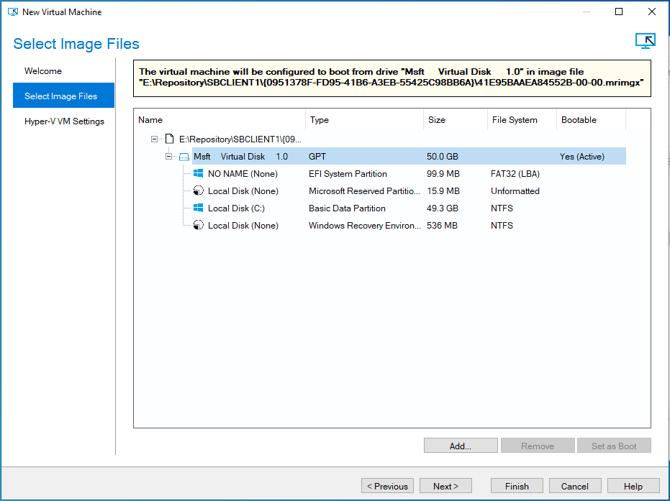
The image that will be used as the basis for the virtual machine can be selected on the second page of the 'New Virtual Machine' wizard. Select 'Add' and then navigate to where the golden image is located.
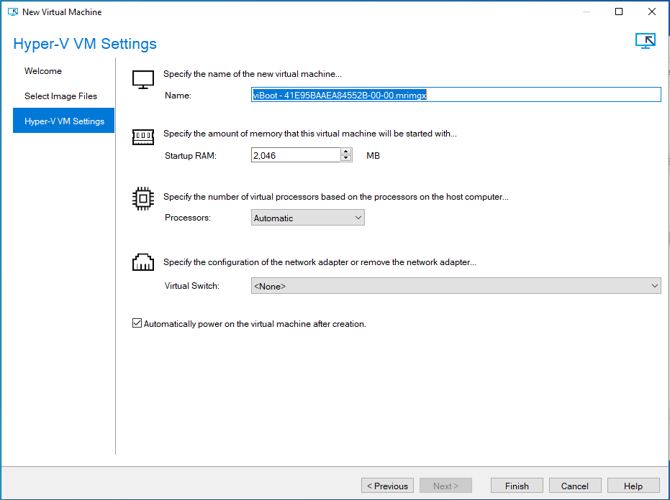
The final page of the New Virtual Machine wizard is where the settings for the virtual machine are specified:
The first bootable disk contained in the image will be marked as the boot disk. If the image contains multiple bootable disks (e.g., an image of a dual-boot system), the boot disk can be changed by selecting a disk, then selecting the 'Set as Boot' button.
Once the relevant image has been selected, select 'Next' to proceed with the wizard.
The final page of the 'New Virtual Machine' wizard is used to specify the settings and virtual hardware specifications for the new virtual machine.
The 'Processors' and 'Startup RAM' options are limited to match the host computer. If the number of processors is set to 'Automatic', viBoot will interrogate the Windows settings from the image files to set the correct number of processors.
Setting the 'Virtual Switch' to '<None>' will ensure that the virtual machine is not able to connect to a network; this can be especially useful if the system where the image, that is being used as the basis for the virtual machine, is still online. Alternatively, this can be set to an existing network adapter to enable the virtual machine to communicate with a network.
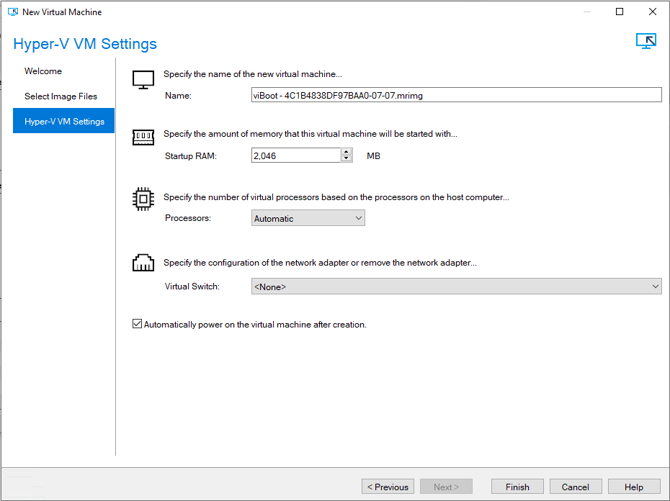
Select 'Finish' to create the virtual machine:
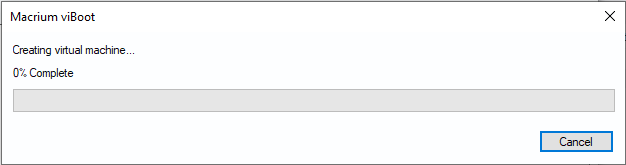
If 'Automatically power on the virtual machine after creation' was checked, the virtual machine will automatically start and boot into the operating system contained in the image file:
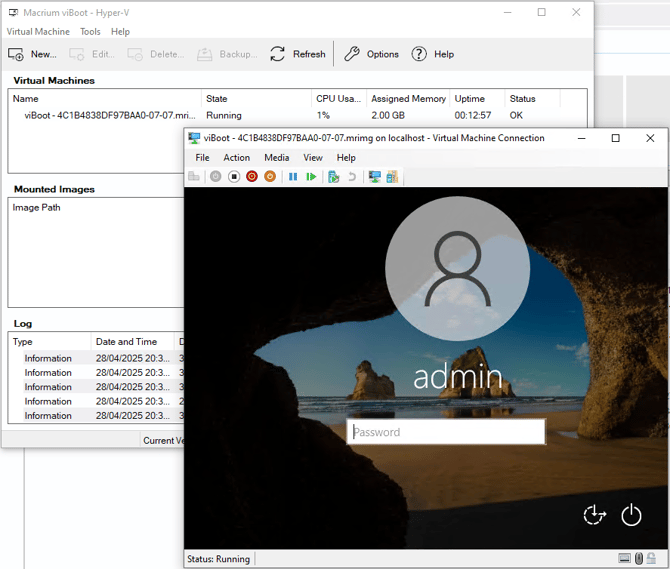
Once the virtual machine has booted, you will be presented with a desktop experience. This can be used to access the guest operating system and ensure that critical applications and processes start up following a restore.
Test Restores
The third recommended way to validate that backups can be restored is to perform a test restore. This process is important not only to test that the image can be restored successfully, but also to familiarize yourself with the restore processes. This ensures that, in the event of a disaster, the system can be restored quickly, without having to learn the restore process during the disaster.
There are several different ways to restore an image, or restore data from an image, depending on the type of disaster that has occurred. Some of these restore processes will be more or less relevant for different systems, environments, and use cases. For example, if the primary purpose of the image is to restore a manufacturing system to a functional state following a disaster, the rescue media restores will likely be the most relevant. If the primary purpose of the image is to easily roll a system back following software, operating system, or driver updates, then remote restores may be more relevant.
The different restore workflows are detailed below. Where possible, it is recommended that these are tested non-destructively in a fashion that is as close as possible to a real life disaster. This could range from testing a restore using the rescue media to a secondary blank disk and then attempting to boot the computer with this blank disk, to restoring the image to a replacement system that would be used in the event of a real-life disaster. If hardware and resources are a constraint, you may also test restoring to a virtual machine to learn the recovery workflows.
Manual Rescue Media Restore
The Macrium Reflect rescue media is a bootable environment that contains a version of Macrium Reflect. This is a flexible recovery solution that can be used when Windows isn't booting correctly, in the event of errant software installation, failed Windows updates, or even to recover to a bare metal machine in the event of hardware failure.
Read more about restoring with the SiteBackup rescue media here.
Remote Restore to a Computer Booted in Windows
If a SiteBackup Agent is booted in Windows, and communicating with the SiteBackup server, a remote restore can be performed to the system without any additional steps. Since this type of restore is performed to a booted Windows operating system, it is primarily used to reset an agent computer back to an earlier point in time, for example after Windows or application updates cause system instability.
Read more about this type of restore here.
Remote Restore to a Computer Booted with the Rescue Media
If an agent computer has been booted using the rescue media, a remote restore can be initiated from the SiteBackup server. This can be used to easily remotely restore an image to a computer that is unable to boot into Windows, for example, when a computer is experiencing boot problems. This enables a device owner to boot the system with a rescue media, then someone at the SiteBackup central console to initiate the restore.
Read more about this type of restore here.
Recovering Individual Files and Folders
Macrium SiteBackup can also browse image files, presenting a filesystem-level view of the contents of the image file. This enables more granular file and folder recovery. This is ideal for situations where a limited number of important files and folders have become corrupted or been deleted. Browsing the image enables the files to be recovered without impacting other data on the system.
Read more about image browsing here.
Conclusion
Macrium has over 20 years of experience in disk imaging and recovery. That experience is reflected in the reliability and integrity of Macrium image backups. However, ensuring successful recovery requires more than creating a backup alone. Regular validation and restore testing confirm that images remain usable and that recovery processes work as expected. By validating backups and testing recovery workflows, you can be confident that your Macrium images will deliver reliable recovery when it matters most.