- Overview
- Creating an Azure File Share
- Backing up to an Azure File Share
Overview
Azure Files provides fully managed cloud file shares that use the industry-standard SMB protocol. Macrium Reflect can use these shares as a destination for backups.
Creating an Azure File Share
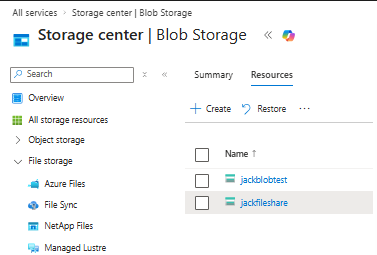
Firstly, select the Azure storage account that will be contain the file share. Follow the steps here if a storage account has not already been created:
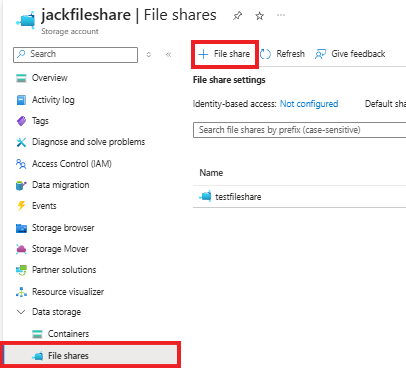
In the window that opens, select 'File shares' and then '+ File share':
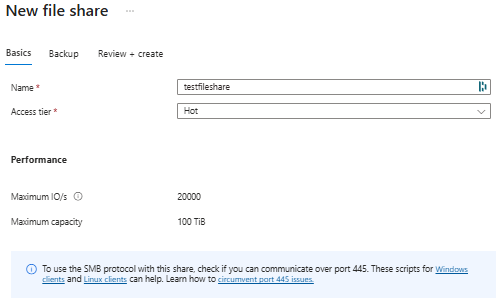
Follow the 'New file share' wizard to create the Azure file share. More information about this wizard can be found here.
Finally, select 'Create' to complete the file share creation.
Backing up to an Azure File Share
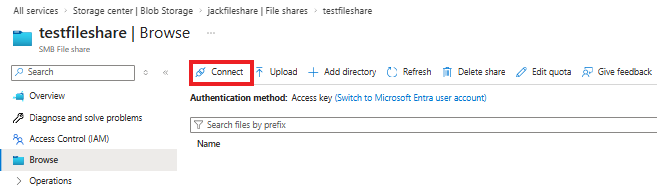
Once the Azure File Share has been created, select the file share, and then select 'Connect':
In the pane that opens, ensure that 'Windows' is selected, then select 'Show Script' to display the details needed to access the share:
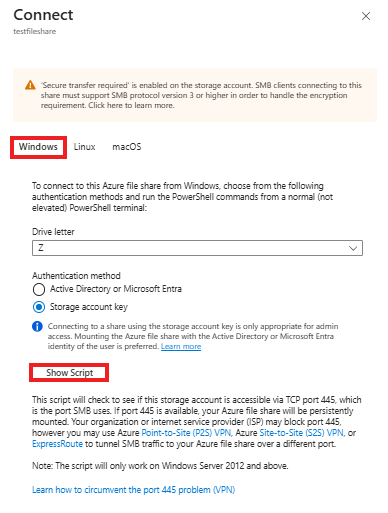
A Powershell script will be displayed that can be used to map the network share.
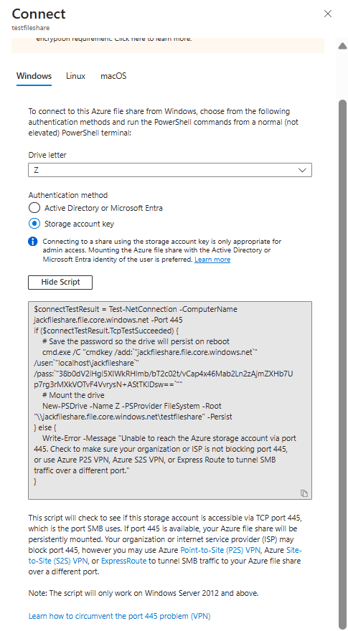
The path to the share and the username and password to access the share can then be copied from this Powershell command:
| Information | Example |
| Path | \\jackfileshare.file.core.windows.net\testfileshare |
| User | localhost\jackfileshare |
| Password | 39d0dV2iHgl5XIWkRHlmb/bT2c02t/vCap4z46Mab2Ln2zAjmZXHb7Up7rg3rMXkVOTvF4VvrysN+xStTKlDsw== |
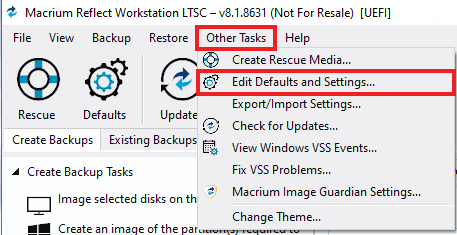
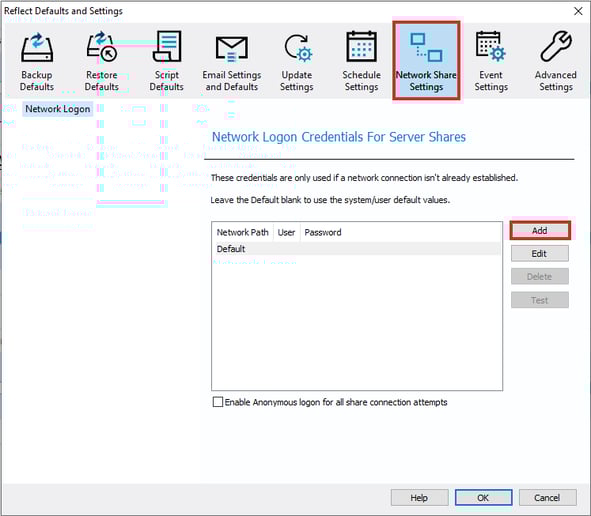
In Macrium Reflect, select 'Other Tasks', then select 'Edit Defaults and Settings...':
In the window that opens, select the 'Network Share Settings' tab, then select 'Add':
In the window that opens, enter the network share credentials copied from Azure Powershell script:
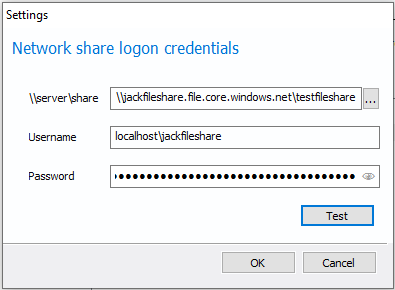
Select 'OK' to add the credentials.
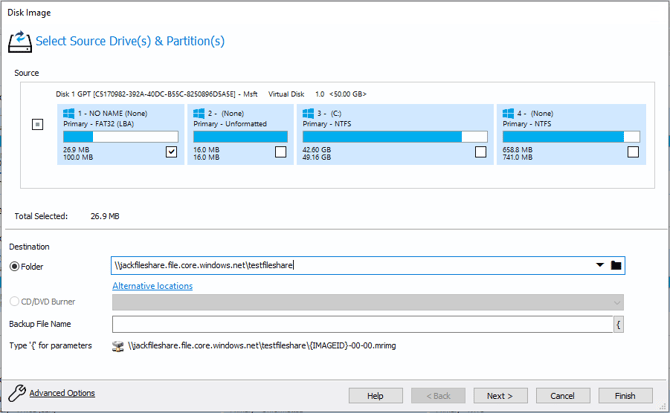
Finally, when creating a new backup definition, specify the path as the destination:
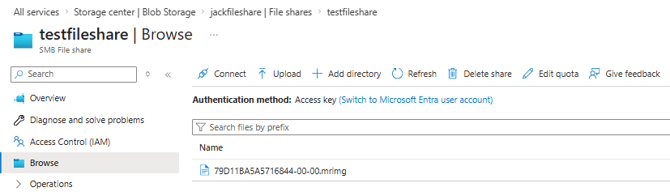
Once a backup has completed using this definition file, the backup will be visible when browsing the Azure file share: