- Overview
- Getting Started with Organizations
Overview
The 'Organization' section of the Macrium Account provides a central location for managing your company's Macrium software, licenses, downloads, and user access.
Previously, licenses and downloads were managed individually by each account, making it difficult to maintain visibility across an organization, particularly as teams grew or responsibilities changed. The Organization feature introduces centralized administration, allowing multiple users to collaborate while providing role-based access to ensure each user only has the permissions they require.
Getting Started with Organizations
The first time that you visit the 'Organization' page of the Macrium Account, the following information will be displayed:
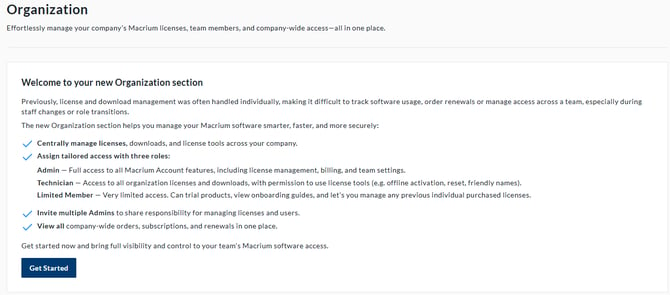
Note: only email addresses with a company domain are able to create an organization. Non-company domain email addresses (@gmail.com, @outlook.com, @protonmail.com, etc) will not be able to create an organization.
Select 'Get Started' to set up an organization. In the window that opens, specify the name of the organization:
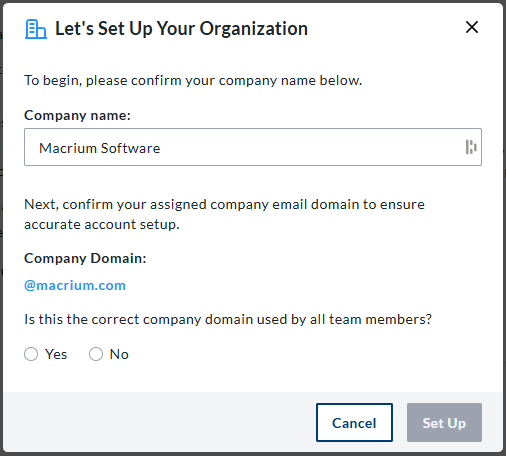
If the company domain already has an organization associated with it, the following message will be displayed:

We recommend consulting with other Macrium users inside the organization to be added to their existing organization.
Invite Team Members
- Go to Organization
- Select Add Team Members
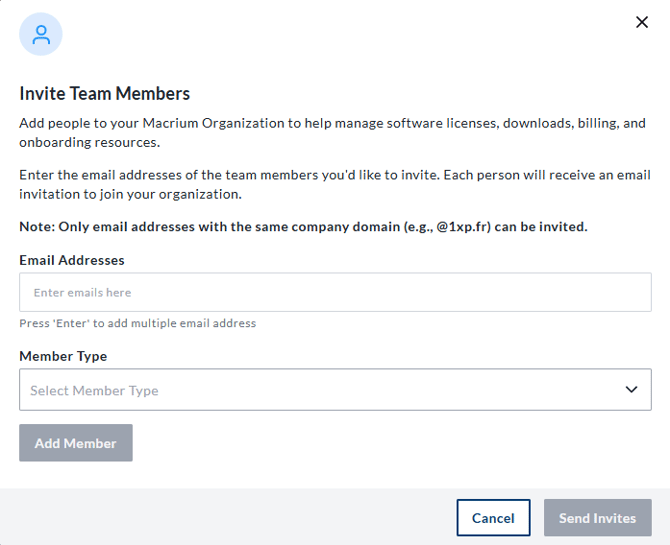
- Enter the email address of the person you want to invite
- Press Enter to add the email address to the invitation list. You can enter, copy, or paste multiple email addresses to invite several team members at once
- Select the appropriate Member Type
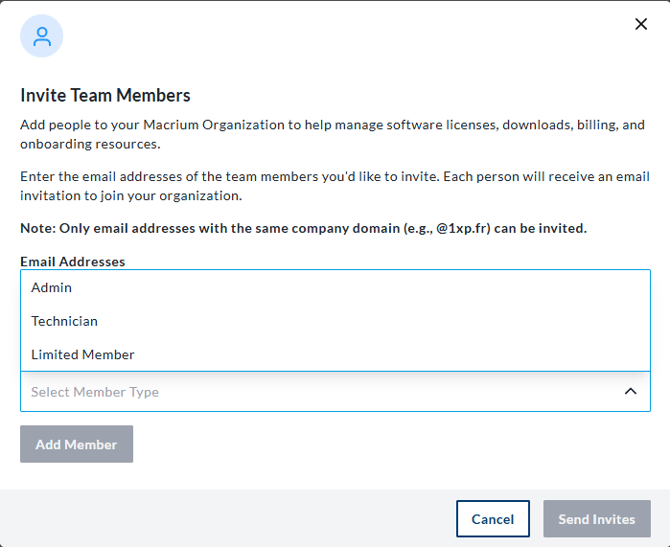
- Select Add Member
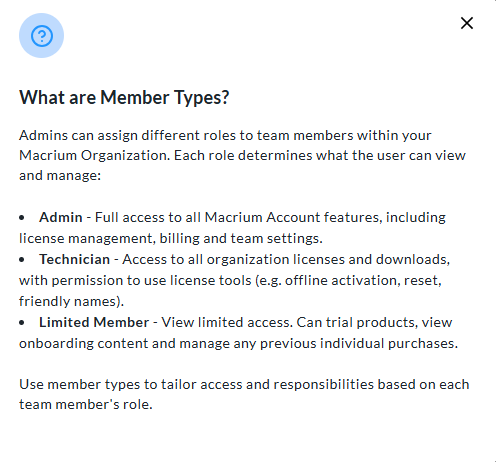
- Select What are Member Types? on the Organization page to view a description of each role.
- You can also hover over a member type in the team members list to view more information about the permissions it provides.
- Go to Organization
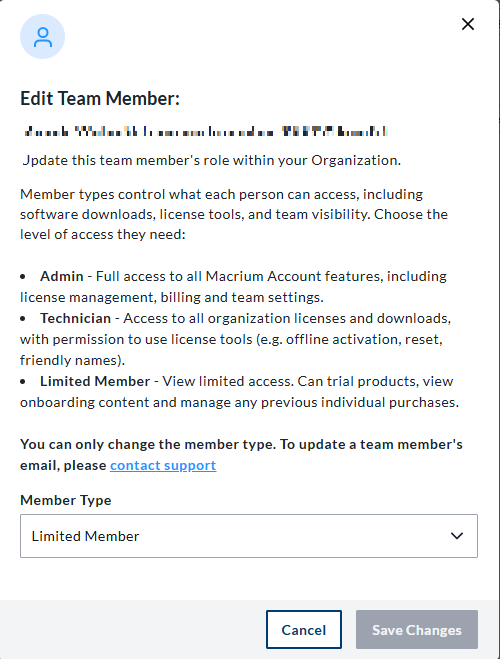
- Locate the team member in the members list
- Select the pencil icon next to the team member
- Make the required changes
- Save the changes
- Go to Organization
- Locate the team member in the members list
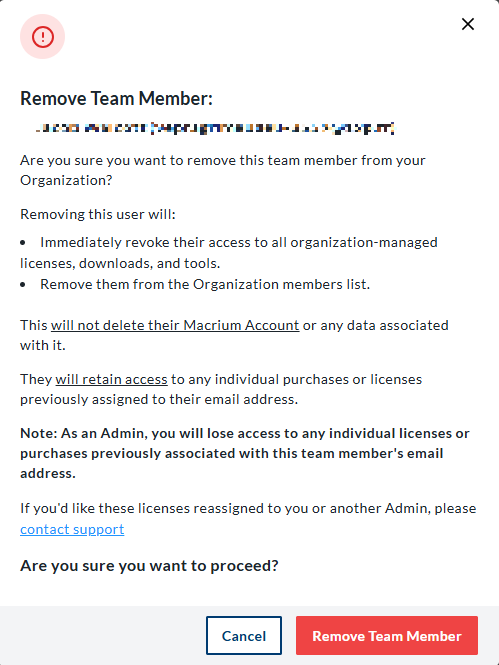
- Select the trash icon next to the team member
- Review the information displayed in the confirmation window
- Select Remove Team Member to confirm
- Go to Organization
- Select the cog icon next to What are Member Types?
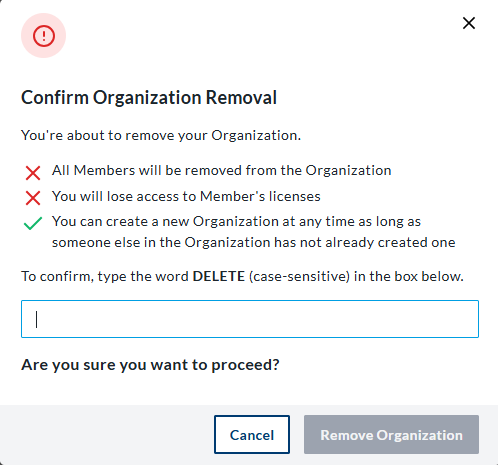
- Select Remove Organization
- In the Confirm Organization Removal window, review the impact of removing the Organization
- Enter DELETE. This value is case-sensitive
- Select Remove Organization to confirm